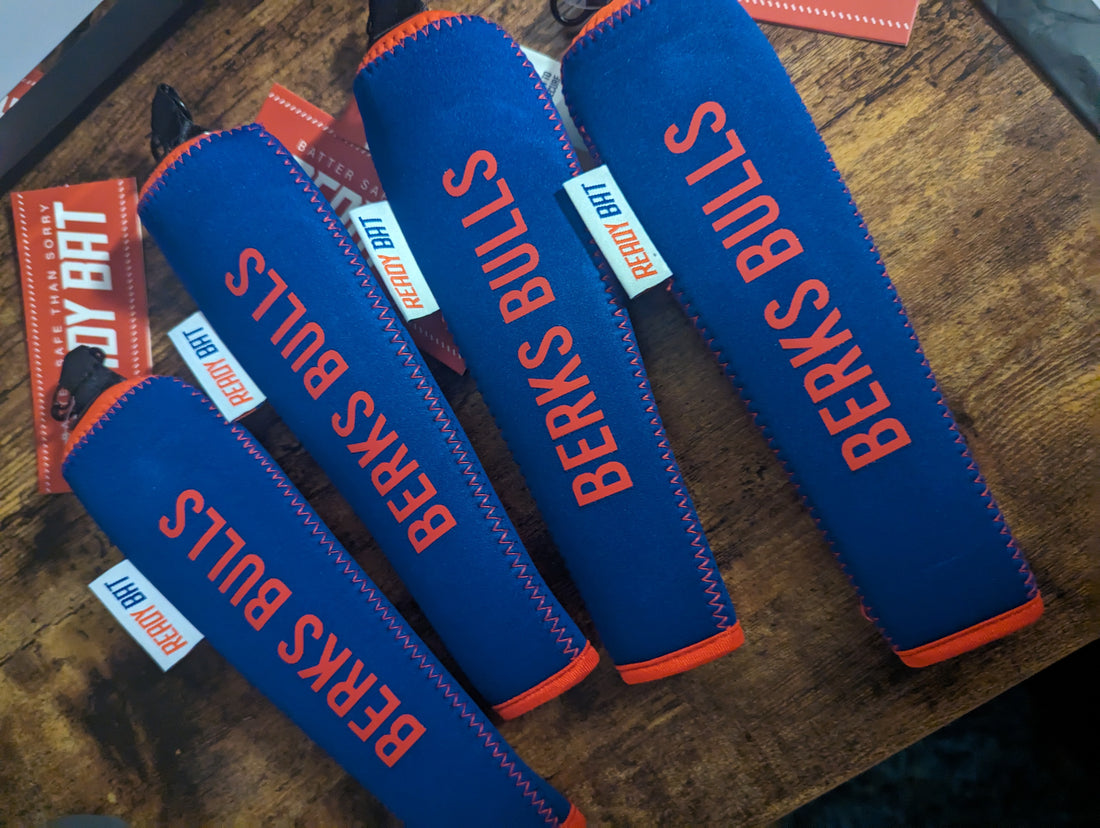
Step-by-Step Guide
-
Measure the Space: Start by measuring the area on the cover where you want to apply the vinyl. A typical size of 4.25" x 1.5" is recommended.

-
Choose Your Vinyl Color: Select the heat transfer vinyl color that complements your team's colors or personal preference.

- Layout Your Design: Open the Cricut software app on your computer and layout your desired text or design. This could be player names, numbers, or any other creative elements you have in mind.
- Prepare for Cutting: Once your design is ready, click "MAKE" in the Cricut software app to prepare for cutting.
- Load the Vinyl: Place the Everyday Iron-On vinyl on a standard grip mat, ensuring that the vinyl has the correct side facing down (refer to the product packaging for specific instructions).
- Cut the Vinyl: Follow the prompts in the Cricut software app to "MAKE" and cut out your design from the vinyl.
- Weed the Excess Vinyl: Carefully peel off the excess vinyl, leaving only your desired design on the transfer sheet.
- Warm Up the Cover: Using a piece of parchment paper, warm up the cover material with a medium-warm iron. This will help the vinyl adhere better.
- Apply the Vinyl: Position the vinyl design on the warmed cover material and cover it with parchment paper. Use a medium-high heat iron and press down for 10 seconds, then let it cool.
- Press Again: Once cooled, press the vinyl again with the iron and parchment paper for added adhesion.
- Remove the Plastic: After cooling, carefully remove the plastic transfer sheet from the vinyl, leaving your design on the cover.
- Final Press: Place parchment paper over the vinyl design and use the iron once more to ensure a secure bond.
- Let it Cool: Allow the cover to cool completely before handling or using it.
Additional Resources
If you need more detailed instructions on how to use the Cricut with Iron-on transfers, check out this helpful YouTube video: https://www.youtube.com/watch?v=-S6DzXe5p64By following these simple steps, you can create personalized and unique covers for your team's uniforms. Not only will your team look great on the field, but they'll also feel a sense of pride and unity wearing their custom-designed covers. So, grab your Cricut machine, some heat transfer vinyl, and let your creativity shine!If you're not into DIYing, I can also do the customizing for your team. Contact me at tori@readybat.com for pricing.

